![]() Installing the Software
Installing the Software
Installing the Software
When you receive your order in the mail, you will receive:
Step 1: Installing the Software
Insert the CD into the CD drive and install the VCM Suite software.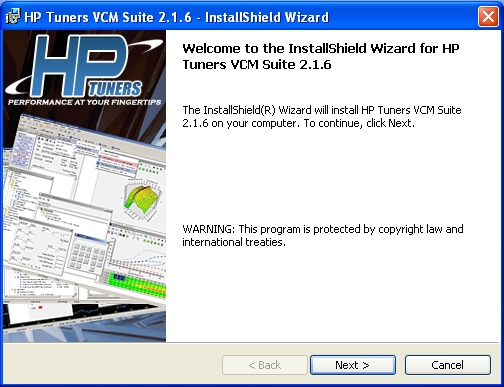
After the software has finished installing leave the CD in the
drive but do not run the VCM Suite software just yet.
Step 2: Installing the USB MPVI interface drivers
Connect the MPVI interface to the computers USB port with the supplied USB cable.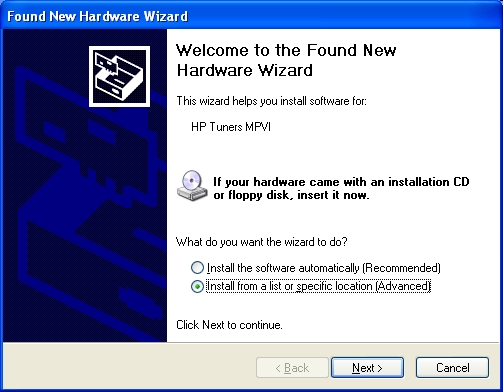
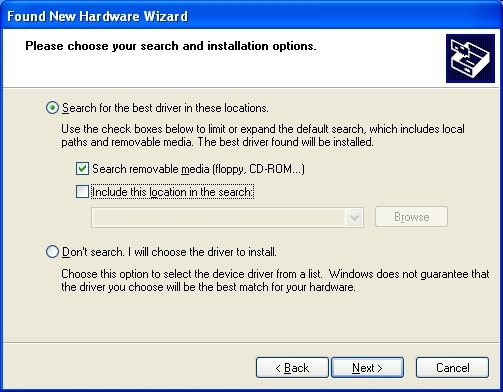
Select the "Search Removable Media" option and ensure any other
options are deselected.
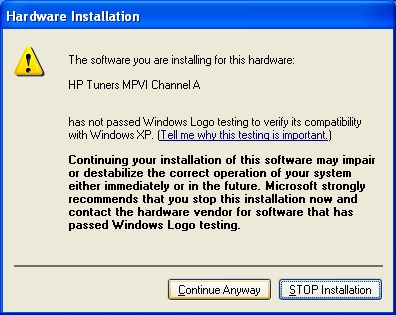
The following warning will appear, click "Continue Anyway".
This success message will appear, click "Finish" to complete the
install.
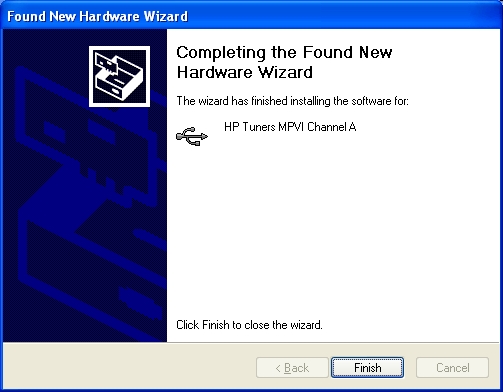
IMPORTANT! You should be prompted to repeat the driver install for
"MPVI Channel B".
Repeat the above process for channel B. This is normal as our
interface uses a dual channel USB interface.
Once the drivers have finished installing, you can remove the CD
from the drive.
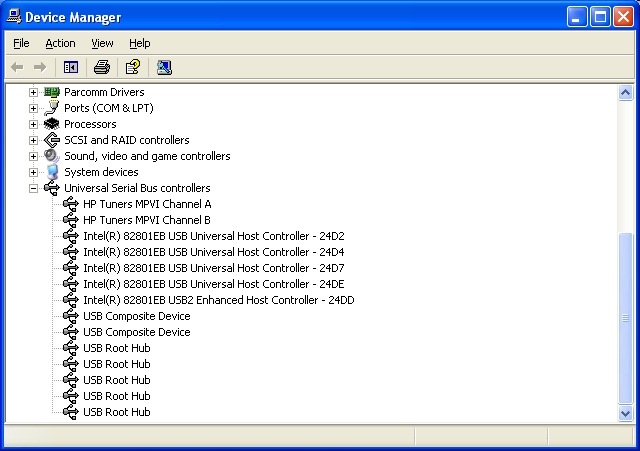
After a successful installation you MUST see the "HP Tuners MPVI
Channel A" and "HP Tuners MPVI Channel B" shown in the Windows
Device Manager, under the Universal Serial Bus controller menu.
If you do not see both channels installed the interface will not
function correctly.
For those machines that refuse to load the correct USB drivers here
is what you can try to fix the issue:
Plug the MPVI interface in, go to the control panel, device
drivers, expand the USB section.
The drivers should be on the CD or you can always download the
latest drivers from here: www.hptuners.com/pub/HPT_MPVI_Drivers.zip.
Steps:
Step 3: Running the Software
Now, open up VCM Editor for the first time. You can find it in your Start Menu->Programs->HP Tuners->VCM Editor. You will be prompted to enter in an application key. You should have received your application key via e-mail after you placed your order or inside of the box with your interface.
Step 4: All Finished
You are now ready to use our product. Thanks for your support!